|
|
Post by TAY666 on Mar 20, 2010 11:26:22 GMT -5
In an attempt to draw more traffic and discussion here I am going to document my building of this kit.
Some of the pictures will be the same ones used on my website also. But a lot of these pics won't be found there.
They would be kind of redundant on the webpage, but might be interesting to those really interested in how these go together.
I will be going into more detail and discussion of what I am doing, and why I am doing it.
Feel free to ask any questions, or make comments.
|
|
|
|
Post by TAY666 on Mar 20, 2010 11:44:22 GMT -5
I will start this discussion with the trunk. It actually went together pretty well. I had to do some scribing with my hobby knife to restore and add in some new texture but overall, not too bad to work on.  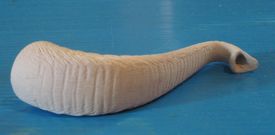 The only real issue, was with the inside of the trunk. Just a bit of a gap that was kind of hard to putty. 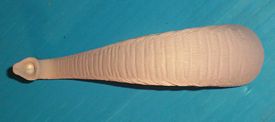 I ended up putting just a bid of putty in there, waiting until it set up a bit, then wetting a Q-tip and using that to smooth it out. 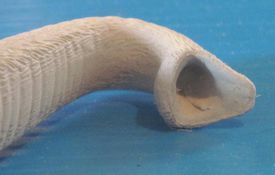 |
|
|
|
Post by TAY666 on Mar 20, 2010 11:53:47 GMT -5
The next subject is the legs. They too went together pretty well. By that, I mean they lined up nicely so I didn't have a ton of putty or dremel work to do to make the joint look natural. Though, this one could have used a little as when looked at from the proper angle, you can see where the joint falls.   I just had to lightly scrape the excess glue from the joint. Then scribe the fur in with my hobby knife.' It doesn't exactly match the texture of the parts, but from a few inches away, you really can't tell the difference  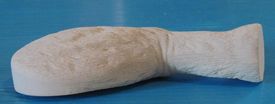 I actually didn't do any dremel work at all on the trunk or the legs. And the only putty work done on the legs was on the toes on each foot. The middle one, where the seam ran right through the middle.   All of which are pretty much done, except one foot still needs just a touch more TLC with the sandpaper. 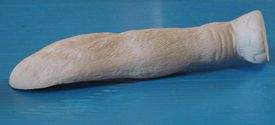 |
|
|
|
Post by stevekelley on Apr 12, 2010 15:09:58 GMT -5
Is that what they call puttying around the house?  |
|
|
|
Post by TAY666 on Apr 12, 2010 18:51:40 GMT -5
LOL
|
|
|
|
Post by TAY666 on Nov 20, 2010 21:48:47 GMT -5
A little progress on this kit again. (finally) I glued the body together 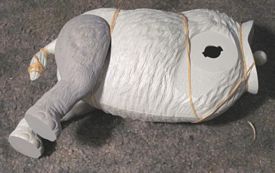 And have gotten as far as cleaning up the seam. 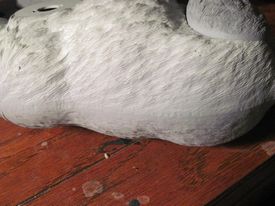  Now I have to start replacing the details. |
|
|
|
Post by TAY666 on Jan 16, 2011 22:13:48 GMT -5
 I've got the head on!  I angled the head to give the kit a bit more movement. I also have the head tilted as far up as it will go.  Going to have quite a bit of filling to do though. |
|